


Luxembourgguidelines.org – How To Render In Premier Pro. Adobe Premiere Pro is an application used to edit videos via computer and laptop devices. Then, there is various tools that can support video editing needs, starting from the preview stage, breakdown shots, and the finalization or rendering stage of the final result. However, in the video rendering process it must have a high aspect. This aims to process videos quickly and avoid the risk of damaged videos. In addition, this process influenced by several things, starting from video resolution, effects and duration of the video being rendered. Then, how do you carry out the final process in editing the video? Come on, see the explanation in the article below.


How To Render In Premier Pro
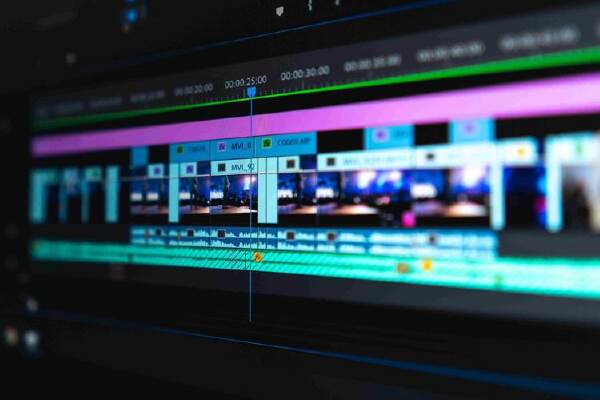
Rendering is the process carried out in changing a project into a file that can be run on other media. Then, there are various types of file formats that you can know, starting from movie, frame, audio, title, to tape, to DVD, to EDL, and Adobe Media Encoder. The following are the steps that can be taken in editing the final stage, including:
- First, you can select the File > Export menu and select “Media”. Or press the shortcut Ctrl + M on the keyboard.
- Second, you can choose the desired video output format after the “Export Settings” window appears.
- Third, make changes to the “Preset” section according to the desired format. For example, YouTube videos with HD quality can select the H.264 format and select the YouTube 1080p HD option in Preset.
- Fourth, ensure that the “Export Video” and “Export Audio” sections are checked.
- Fifth, you need to make sure the Use Maximum Rendering Quality section is checked. This aims to get good quality video rendering results.
- Sixth, ensure that the use previews, use frame blending, and import into project sections have been checked.
- Then, click the “Metadata” button to add copyright to the video.
- Eighth, you can press the “Export” button. Then, wait until the exporting, video and audio rendering process is complete.
Tips For Rendering Audio
The following are tips that can be used in rendering audio, including:
- First, you can insert the selected video and extract the audio into the Timeline panel.
- Second, select the File menu > Export > Media. After that, select Windows Waveform in the format section in the “Export Settings” dialog box.
- Third, you can select the underlined text in the Output Name section. Then, specify the name and save location of the file in the “Save As” dialog box. After that, click “Save” and click “OK”.
- Fourth, activate the Adobe Media Encoder program. Then, click the “Start Queue” button to start rendering audio. After that, you can run the audio results using Windows Media Player.
That is an interesting explanation regarding how to render in Premier Pro which can be conveyed in the article above. Hopefully after reading the discussion in this article, you can understand it well, use it as an additional reference, increase your knowledge and insight and be able to apply this knowledge in your daily life.