


Luxembourgguidelines.org – How To Install Font On Crossover Mac. Crossover is an application that functions to install Windows programs. One of them, namely Mac and MacBook which have the OS X or macOS operating system but cannot open the .exe file because it is a Windows executable file. This makes users unable to install file.exe on Mac. By using the Crossover application, users can install Windows programs. So, users only download Windows programs in the form of .exe files. Then, immediately open the .exe file by double clicking to install the Windows program. So, users don’t need to install Windows to run Windows programs. So, how do you install fonts on crossover Mac? Come on, see the explanation in the article below.

How To Install Font On Crossover Mac
The following are the steps to install on Mac fonts using this application, including:
Step 1
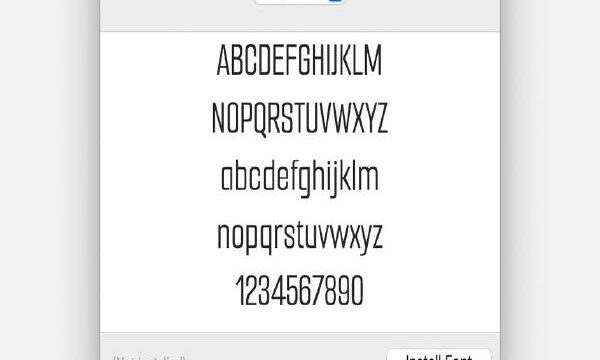
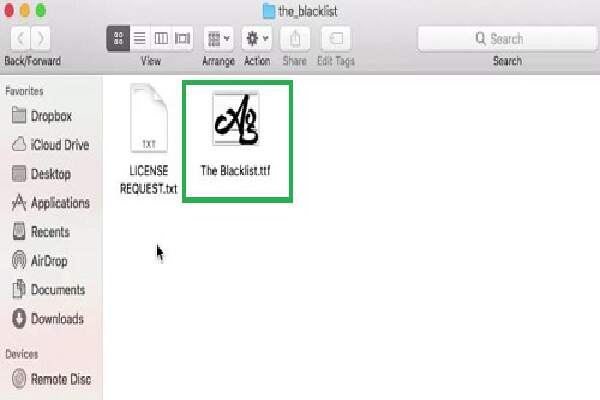
- First, look for the font file. Before starting, make sure the user has the font file he wants to install. Then, fonts usually come in .ttf (TrueType) or .otf (OpenType) format. The important point is that the file is on the Mac. This of course must be needed immediately.
- Second, open the Crossover application on your Mac. This is done because the application presents an environment, starting from Windows as the place used to install and run Windows software.
- Third, direct it to the appropriate bottle with Crossover. Then, the application can be put into a “bottle”. Then, open the bottle which is the place to install the font. If not, users can use the default bottle.
- Fourth, can access Windows Drive into the bottle of your choice. Then, navigate to the C: drive. Then, the virtual drive will replicate the Windows file system in Crossover.
Step 2
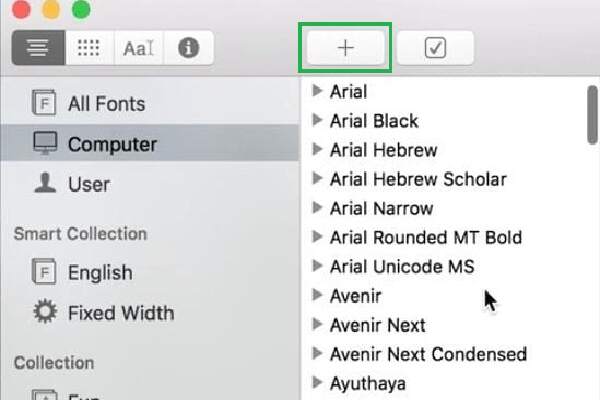
- Fifth, find the fonts folder into the C: drive and look for the “Windows” folder. Then, in this folder the user can find the “Fonts” folder. Next, Windows saves the font file.
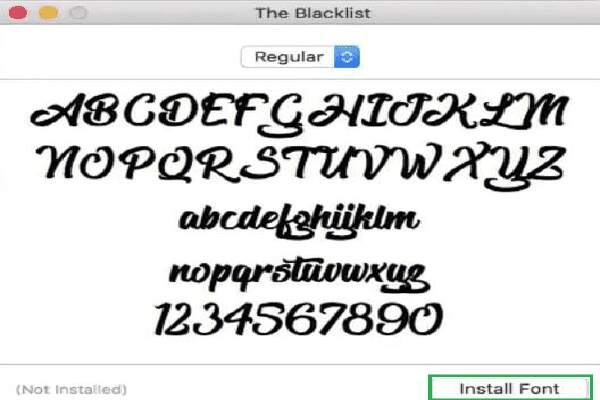
- Sixth, you can install fonts using drag and drop files from your Mac system to folders within Crossover. Alternatively, users can right-click the font file on Mac. Then, select “Copy,” right-click in the fonts folder and select “Paste.” After that, Crossover will automatically install the fonts inside the virtual Windows.
- Seventh, restart the application if necessary. Then, you can run any Windows application in the bottle where the font is installed and restart the application. This is done to ensure that newly installed fonts can be recognized and are available for use.
With Crossover, of course, users can save more free storage space. This is because there is no storage to install Windows. In addition, using all the programs in OS X or macOS can make your MacBook battery more efficient.
That is the interesting explanation above that can be conveyed regarding how to install fonts on Crossover Mac. Hopefully after reading the discussion in this article, you can understand it well, use it as an additional reference, increase your knowledge and insight. And in the future it can be useful and can apply this knowledge in everyday life.