


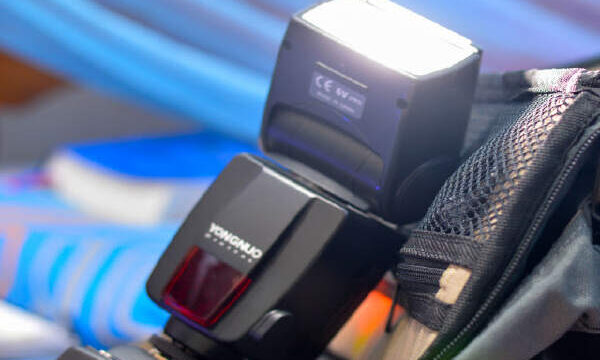
Luxembourgguidelines.org – How To Make A Flash Light Homemade. Camera operations are certainly not familiar with flash light, which is an additional device to add light. This is done to make the object in the photo clearer with stable light intensity and brighter with sharp colors. Then, the flash is usually used in dark environmental conditions to add the required light. Apart from that, the flash light functions to control the use of light, control the direction of the light source, control the quality of the light used, and control the color temperature of the photo. So, how do you make your own flash light at home? Come on, see the explanation in the article below.


How To Make A Flash Light Homemade
The following are the steps for making your own flash light at home, including:
- First, you can determine your goal in making a flash light that can be adjusted to your needs. Starting from photography, emergency lights, and study projects. This of course affects the design and components used.
- Second, prepare the tools and materials needed. Starting from the battery as a power source, cables to connect components, switches to control the flow of electricity, controllers to regulate the time and brightness of the lights, LED lights as the light source, and component storage.
- Third, create a flash light design with a basic circuit. Then, this method is done by connecting the positive battery cable to the switch. Then, move on to the controller and LED lights. Previously, you must ensure that you have checked whether the polarity of the LED lights is connected correctly or not. After that, connect the negative battery cable to the LED light which is used to control the flow of electricity.
- Fourth, prepare a storage box to place all the components. Then, install LED lights on the front of the box to make the light shine properly. Next, make sure there are ventilation holes to prevent the lights and other components from getting hot.
- Fifth, you can check the flash light after installing all the components. Then, connect the battery to the circuit and make sure the LED light is on properly. If it doesn’t light up, check the connection and polarity again.
- Sixth, finish the flash light by tidying up the cables and closing the storage box. Then, you can also add a diffuser to the front of the LED lamp to produce more even light.

Manufacturing Tips
The following are tips for making your own flash lights that you can apply, including:
- First, make sure you use a battery that suits the needs of the LED light. The goal is to produce light that is neither too bright nor too dark.
- Second, check all connected connections before closing the storage box. This is done to ensure the cable is not cut or disconnected.
- Third, consider using a controller that can be adjusted according to your needs, both time and brightness.
That is the interesting explanation above that can be conveyed regarding how to make a homemade flash light. Hopefully after reading the discussion in this article, you can understand it well, use it as an additional reference, increase your knowledge and insight. And in the future it can be useful and can apply this knowledge in everyday life.