


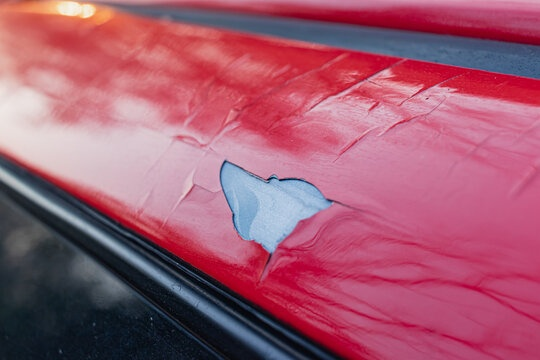
How to Fix Cracked Paint on Car – Although seeing cracked paint on your automobile can be upsetting, you don’t have to be alarmed; you can fix it and make it seem beautiful again. We’ll give you professional advice on how to repair chipped paint and restore your car to its ideal shine in this tutorial.
Estimating the damage is essential before beginning any repairs. Different strategies are needed for different kinds of cracks. Deeper fractures may require more involved restoration, while surface-level cracks may merely require a quick patch. Take your time and carefully inspect the cracks to decide what needs to be done.

Also Read : How To Attach Flowers To Wedding Arc
How to Fix Cracked Paint on Car
1. Clear and ready the space
For paint restoration to be effective, the canvas must be clean. Start by carefully cleansing the region that has cracked using water and a light detergent. Clear away any loose paint, filth, or debris that is encircling the gaps. Before beginning any repairs, let the surface totally dry after cleaning.
2. Select the Appropriate Repair Kit
Use a high-quality do-it-yourself automobile paint repair kit for small cracks. Frequently, all the necessary materials, including as sealants, primers, and fillers, are included in these packages. For a flawless finish, make sure the kit matches the paint color of your automobile.

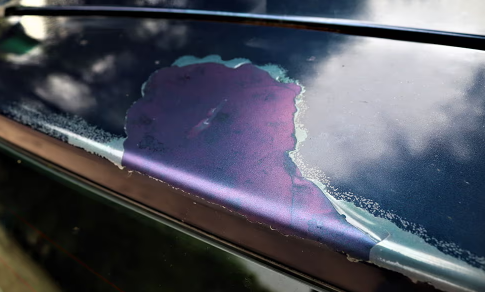
3. Sanding to Ensure Smoothness
Sand the margins of the gaps smooth with fine-grit sandpaper before using any fillings. This stage guarantees a more polished outcome by helping to establish a flat surface for the filler to adhere to. To prevent further sanding damage to the surrounding paint, proceed with caution.
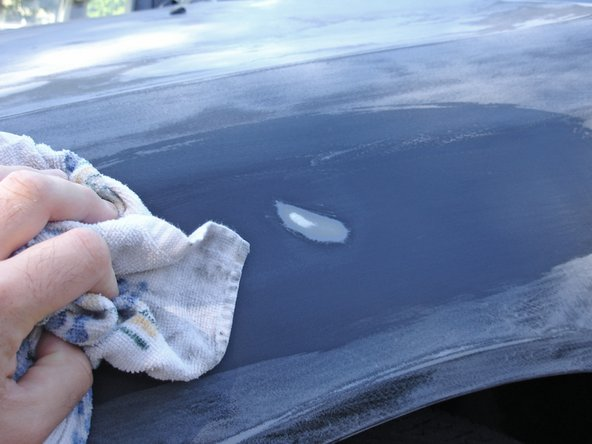
4. Put the Filler in Place
Apply the filler gently to the cracked area using the kit that came with it. For optimal results, adhere to the kit’s instructions. Make sure the filler blends in perfectly with the surrounding paint by spreading it evenly over the cracks. Before proceeding to the following step, let the filler entirely dry.
5. Apply primer and paint.
After the filler dries, prime the repaired area with a premium automotive primer. In order to ensure longevity, the primer aids in forging a solid bond between the paint and the filler. Use your repair kit’s exact match paint to cover the mended area after priming. Apply even, thin coats, waiting for each one to dry completely before applying the next.
6. Final Details: Polish and Seal
Use a clear automotive sealant over the painted area to complete the look and give it a polished appearance. This improves the appearance overall and adds an additional layer of protection. After the sealer dries, polish the entire repaired area gently so that it blends in perfectly with the surrounding paint.
It takes time and attention to precision to fix a broken paint job on your car. You may successfully restore your car’s paint and take pleasure in a faultless finish once more by paying attention to these professional guidelines and using a high-quality repair kit. Recall to take your time, pay close attention to every detail, and savor the satisfaction of restoring your vehicle’s former aesthetic splendor.