


How to Create a New ASIN in Amazon – Knowing your Amazon Standard Identification Numbers (ASINs) is essential if you want to manage your product listings on the website efficiently as an Amazon seller. We’ll go over all you need to know about ASINs in this blog, including their significance, how to add a new ASIN to Amazon, and the best ways to manage ASINs there.
Also Read : Minecraft Cookies: How to Make Them and What They Do
What is ASIN??
A unique number known as an ASIN is given to every product that is featured in Amazon’s online store. It comprises of a 10-character alphanumeric code that acts as a special product identification. To maintain and arrange product listings on its website and distinguish between related goods, Amazon employs ASINs.


Amazon merchants need ASINs for a number of crucial reasons, such as:
Unique product identification: ASINs make it easier for customers to identify and buy the product they’re searching for by helping to differentiate related items.
Using ASINs to classify related items under certain categories and subcategories facilitates the structure of product listings and makes it simpler for users to browse and explore products.
Inventory control: To make sure they don’t run out of supply, ASINs assist merchants in monitoring the amount of inventory they have for each product.
Search rankings: Amazon’s search algorithm uses ASINs to determine a product’s position in search results.


How to Create a New ASIN in Amazon
Step 1: Do some product research
Understanding your product’s category, subcategory, and type is crucial before generating a new ASIN since these details are needed for the creation procedure.
Step 2: Log in to Seller Central on Amazon
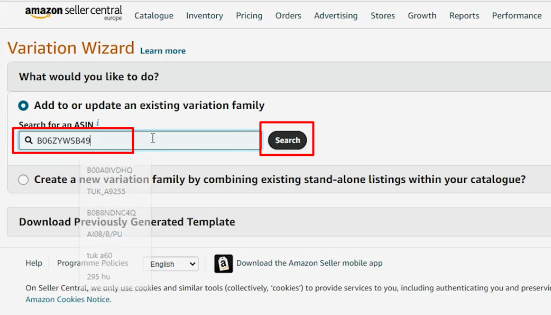
You must log into Amazon Seller Central, the website where you may manage your Amazon seller account, in order to establish a new ASIN. Click the “Inventory” tab and choose “Add a Product” after logging in. A brand-new page will open. Click on “I’m adding a product that is not on Amazon” to add a brand-new listing.
Step 3: Select the Product Type
Selecting the proper product type, category, and subcategory is necessary. Because Amazon has a complicated product taxonomy, it’s critical that you select the appropriate category to make sure your product appears in the appropriate area of the website.


Step 4: Provide Product Details
Entering your product’s details, such as its name, brand, manufacturer, and description, will be the next step. Ensuring the accuracy and comprehensiveness of the information you provide will facilitate potential customers in finding your goods on Amazon.
Step 5: Type in Product Information
You will need to submit particular information about your product, including its size, color, and material, once you have contributed your basic information. You must also provide information about prices and product photos. Check through the tabs in the image above to get an idea of the kinds of data you’ll need at this point.
Step 6: Make an Approval Request
You will need to submit your product for approval when you have entered all the required data. To make sure your product details and photos adhere to the platform’s rules, Amazon will examine them. Amazon will issue a new ASIN to your goods if it is authorized.