


Luxembourgguidelines.org – How To Change Chromebook Owner. Chromebook is a laptop developed by Google based on the Chrome OS operating system. Then, this system is specifically designed for hardware with low specifications, starting from laptops, notebooks and tablets. This is done with sufficient performance to run applications, websites and online services. Apart from that, the operating system is designed to optimize the use of various Google applications, starting from Gmail, Google Docs, and so on.
Apart from that, it can provide reliable security by using various features, starting from double passwords and automatic system updates. Interestingly, this device is famous for its advantages in its very long battery life and its ability to easily synchronize data via the user’s Google account. Then, one of the interesting features of the device is making changes to its owner. This is needed when buying or receiving a Chromebook from someone else and wanting to turn it into your own. So, how do you change it? Come on, see the explanation in the article below.

How To Change Chromebook Owner
The following are steps you can take to change the owner of your Chromebook, including:
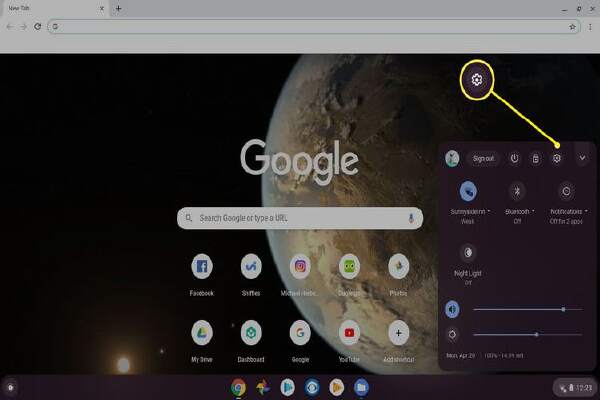
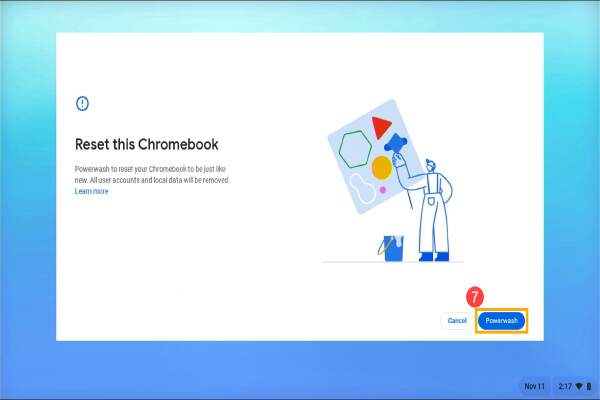
Step 1: Reset Chromebook
The first thing you can do to change the owner of the device is to do a factory reset. Then, this will delete all previous user data and prepare the system for use by the new owner. The steps include:
- First, you can turn off the device. Then, press and hold the Esc + Refresh + Power buttons simultaneously.
- Second, release the Power button by holding the Esc and Refresh buttons.
- Third, wait until a white screen appears with the message “Chrome OS is missing or damaged”. So, release all buttons and wait for the Chromebook to reset itself.
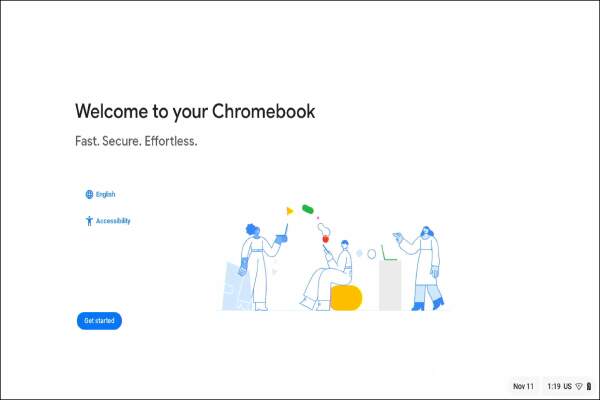
Step 2: Sign In With A New Google Account
After successful reset, you will see the welcome screen. Then, you can sign in with the new Google account that will be the owner of the Chromebook. The steps include:
- First, you can choose the language used. Then, connect the Chromebook to an available Wi-Fi network.
- Second, enter the Google email address used as the Chromebook owner. So, enter the password to the Google account.
Step 3: Configure Initial Settings
After logging in with your new Google account, you will be asked to configure some initial settings. There are several settings that need to be paid attention to, including:
- First, select a time zone that can be adjusted to your location. Then, set your keyboard preferences according to your needs.
- Second, activate or deactivate the “Send usage data to Google” feature according to your preferences.
Step 4: Data Sync
If there is data or applications that you want to move from your previous Google account, you can synchronize it with the new Google account. The following are the steps that can be implemented, including:
- First, navigate to Chromebook Settings.
- Second, select “Google Account” at the top of the menu.
- Third, select “Account Synchronization” and the data you want to move. The process is complete and can be used as needed.
That’s an interesting explanation about how to change Chromebook Owner in the article above. Hopefully after reading the discussion in this article, you can understand it well, use it as an additional reference, increase your knowledge and insight. And in the future, it can be useful and can apply this knowledge in everyday life.