


DIY Flower Bouquet Homemade – A bouquet is a classy accent that brightens any area, whether you’re arranging flowers for a wedding, Mother’s Day, or Valentine’s Day. Though the most exquisite floral arrangements appear casual, a stunning do-it-yourself bouquet demands some preparation.
Also Read : How to Grow Baby Corn at Home
Tips for Picking Flowers for a Bouquet
The correct flowers make the perfect bouquet. Here are some useful suggestions for selecting flowers for your bouquet:
1. Adhere to a color palette
When selecting the flowers for your bouquet, take inspiration from the color palette of your house or event venue. Select flowers that have hues that match or are similar to the space where the bouquet will be kept. Additionally, confirm that the bouquet’s colors work well together.
2. Examine the seasons.
You might want to think about selecting in-season flowers for your bouquet because they are more reasonably priced and fresher than out-of-season flowers. For instance, year-round blooms like hydrangeas provide a reasonably priced accent for any do-it-yourself bouquet.
3. Select robust blooms.
Use hearty flowers like daisies, succulents, and chrysanthemums to ensure that your arrangements look as fresh as possible for as long as possible. In particular, robust and long-lasting flowers are crucial when creating a bridal bouquet that you will be holding for the duration of the day.

DIY Flower Bouquet Homemade
Make a lovely bouquet at home for any special event or just every day with the step-by-step directions provided below.
1. Select the finest flowers.
When choosing your flowers, take into account the color scheme, time of year, price range, and fragrance. Make sure the flowers you choose are robust, fresh, and have complementary hues and scents. Fresh flowers are available at your neighborhood florist, supermarket, or from your own garden.
2. Take out any thorns and leaves.
Make sure to prune off any sharp thorns, especially if you are working with roses. To remove any last bits of leaf from your plant stems, use shears or your hands.

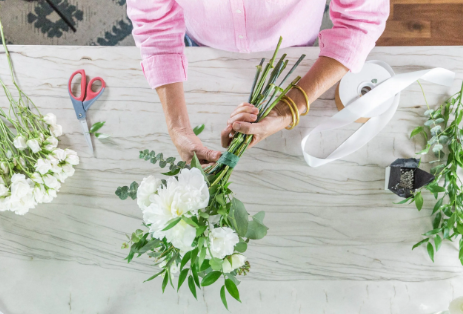
3. Work your way around a focal flower first.
Select your best or most intriguing flower to serve as the bouquet’s main attraction. Holding it straight, surround it with your supporting flowers, turning the arrangement as you go to ensure that the flower heads are positioned at various angles.
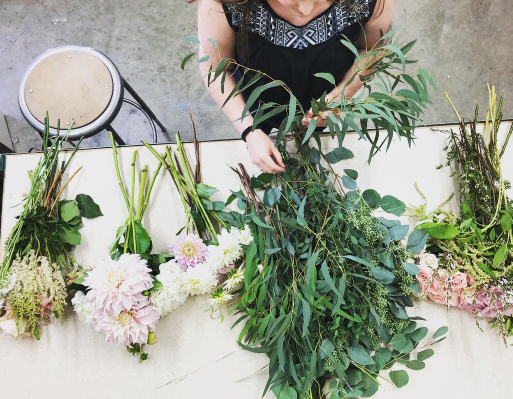
4. Put in some filler flowers.
Your floral design will look more natural and have contrast when you use smaller flowers and accent greenery. After you’ve positioned every flower, add a few fillers to give the arrangement some life and vigor, such as eucalyptus, wax flowers, myrtle, or baby’s breath.
5. Encircle the stems.
After arranging your arrangement, use floral wire, tape, or hot glue to securely bind the stems together. Start around the bouquet with your wire directly beneath the flower heads to prevent separation. To secure the flowers without taking too much focus away from your arrangement, use matching floral tape.
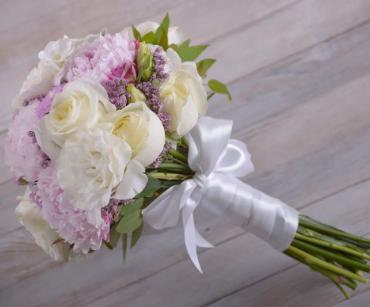
6. Finishing touches can be added.
For a lovely final touch, add ribbon or ornamental wrap to your arrangement. If you’re crafting a bridal bouquet, make sure the ribbon is parallel to the floral tape and leave enough room at the bottom for the bride to grasp it.