


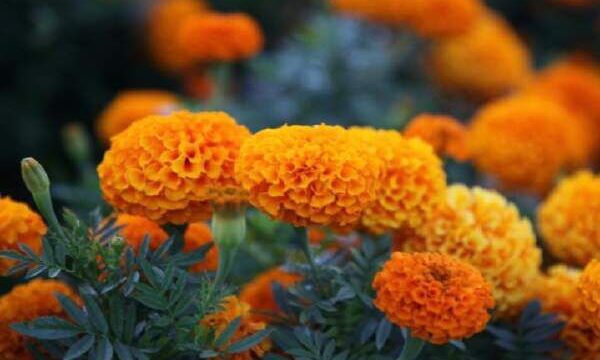
Luxembourgguidelines.org – How To Make Paper Marigolds. Marigolds are a type of flower known for their bright colors, yellow, orange and red petals. In fact, with an interesting color combination. This flower thrives in various soil conditions, climates, and can be cultivated in gardens or pots. This type of flower has a distinctive, sharp aroma, can repel insects naturally, and is useful in protecting other plants around it.
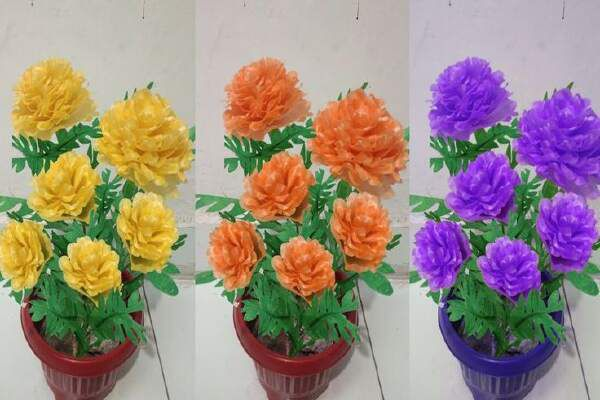
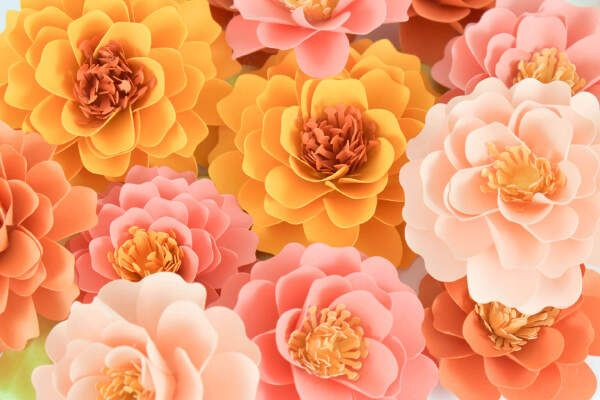
Apart from being authentic, these flowers can also be made from paper. This is indeed popular as decoration at various important events. Starting from decorating parties, weddings and other events. One of the advantages is that it is durable, does not require maintenance, can be made in various colors and sizes according to your wishes.

How To Make Paper Marigolds
The following are the steps you can take to make these flowers from paper, including:
# Step 1
- To get started, you can prepare the tools and materials you need. Then, starting from tissue paper or crepe paper (choice of color), scissors, thread or floral wire, ruler, and glue.
- Then, you can choose tissue paper to give the flower a delicate appearance and crepe paper for flowers that are stiffer and more textured.
- After that, cut the paper into several long sheets. Then, take standard measurements of around 10 cm x 20 cm or you can adjust the size you want.
- The next step is to fold the paper repeatedly. This is done to make a fan and accordion with a fold width of around 1 cm to 2 cm. The smaller the folds, the more petals produced, and the more realistic the flower will look.
- Tie the middle of the folded paper with thread or floral wire. Then, make sure the binding is done tightly to hold the paper folds and not too tight to damage the paper.
# Step 2
- Cut the ends of the paper into a round or pointed shape after tying the middle of the fold. This depends on the shape of the petals you want. For marigolds, slightly curved or rounded tips will give a more natural look.
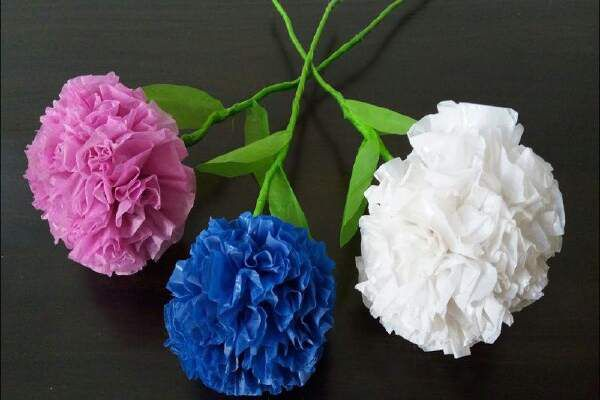
- After the ends of the paper are cut, you can carefully unfold the paper one by one. Pull each layer of paper in opposite directions to form fluffy flower petals. Do this slowly to avoid damaging the paper.
- If all the layers of paper have been opened and the flower petals are starting to form, you can arrange and smooth the petals to make it look more natural and beautiful. Then, you can arrange the petals to produce a shape that is not too symmetrical and the flower looks natural. If necessary, you can use a little adhesive at the base of the flower to ensure the petals are in position.
- The final step is to make the flower stem. After that, you can use floral wire covered with green paper or use stems made from other suitable materials.
So, hopefully after reading the discussion in this article you can understand it well, use it as an additional reference, increase your knowledge and insight. Then, and in the future it can be useful and can apply this knowledge in everyday life.