


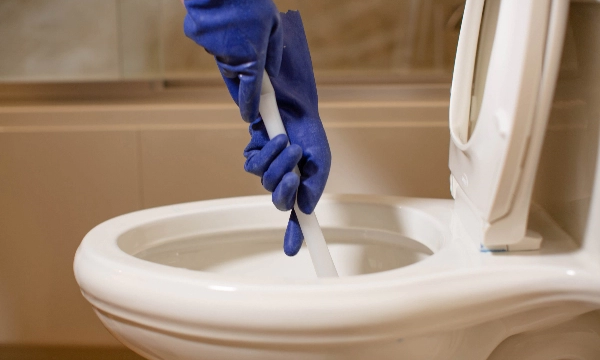
How to Use a Plunger on a toilet – The use of a plunger is one DIY skill you should become proficient at. Luckily, if you get the hang of using it, this reliable home staple is a really simple instrument. A plunger employs suction to clear obstructions from toilets, sinks, and drains. The rubber cup creates a vacuum seal over the drain or toilet opening so that when the handle is depressed, the pressure of the water travelling up and down will clear the obstruction and allow the water to flow freely once again.

Plumber and National Technical Institute teacher George Medina advises using a plunger to unclog toilets, sinks, and drains. Although it may be tempting to use a professional drain cleaner to cure your issue, he claims that this is not a guarantee. The fact that consumers attempted a chemical cleaner and it didn’t work is really one of the most common complaints he receives from clients.
Liquid drain cleaners, particularly in older houses, “may potentially result in major damage to your pipes and might cause corrosion or more wear and tear on pipes,” claims Medina. It would be preferable to use a plunger, and if that doesn’t work, call a nearby expert for assistance.
Also Read : How to Get Skin Special on Stumble Guys Game
Types of plungers
The normal cup plunger, the flange plunger, and the accordion plunger are the three varieties of plungers that are appropriate for domestic usage.

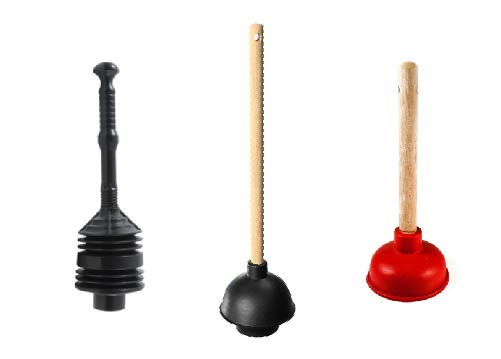
1. The standard cup plunger
The classic cup plunger has a cup with a wooden handle that is often red. This one works best when applied to flat surfaces like shower drains and sinks.
2. The flange plunger
The flange plunger features a big cup that is frequently black and a smaller inner cup (flange) that fits more snugly into the toilet bowl hole. The smaller cup may be pushed back into the bigger cup to provide the same form as a normal cup plunger, making the flange plunger an all-purpose plunger. However, it’s a good idea to keep two distinct plungers on hand, one for sinks and drains and the other for toilets, for sanitary reasons.
3. An accordion plunger
Another form of plunger for toilets is an accordion, however it’s not as simple to use as a normal or flange plunger. Rather of being made of rubber, it is composed of hard plastic, which makes it more challenging to create a seal over the opening. However, when you build the seal, the accordion ridges produce a greater suction to unclog a drain with less effort.

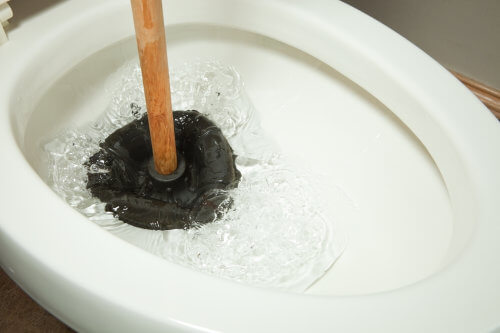
How to plunge a toilet
1. Be ready for any potential messes
Put on your gloves, cover the floor with paper towels or newspaper, and have a trash can handy. This might become messy based on the substance blocking the toilet.
2. If required, take out or add water
If the water is about to overflow as you start to plunge, grab a cup and carefully remove part of the water. You want the plunger to be covered by water. Add some water to the toilet if there isn’t enough already so that the plunger may be inserted.
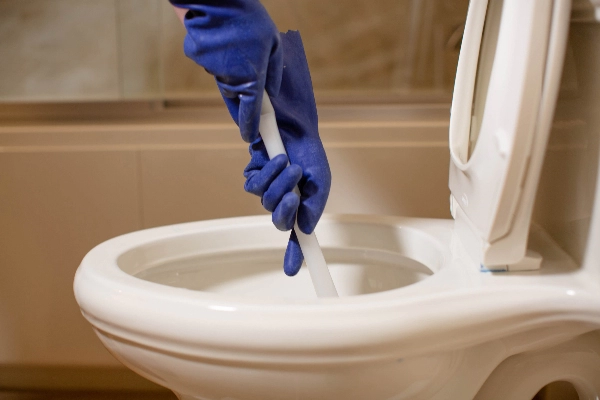
3. Fill the toilet bowl with a flange plunger
The key, according to Medina, is to insert it at a 45-degree angle. By doing so, it holds onto more air, allowing for more downward pressure. To create a tighter seal after plunging, place the flange in the toilet’s bottom hole.
4. Pushing the plunger slowly
With the handle pointing straight up, rotate the plunger 90 degrees. You should gently push downward at least twice or three times, but you can keep doing this until you notice the water level in the bowl decrease. The key here is to keep the seal in place until you have finished plunging.
5. Check the blockage after removing the plunger
The plunger was effective if the water subsided. Remove any non-flushable items that may have become loose. If not, you can flush the bathroom.
6. Clean and put the plunger away
You may clean the plunger in the clean toilet water after the toilet is clear and operating smoothly. To clean and sterilize the plunger, add a bathroom cleaner or bleach to the water, stir it around, and then flush once more. Place the plunger in a plastic bag or other container and allow it to air dry in the shower or tub before putting it away in a cupboard or closet.