


How to Set Default Font in Excel – Excel gives users the option to create spreadsheets using a pre-selected typeface. The default font in your text may have a big impact on how it looks and how well readers understand it. Acquiring knowledge on how to set Excel’s default font might enhance the look and readability of your work. In this post, we go over the potential advantages of having a default font and walk you through the process in five easy stages.
What is a default font?
The typeface that automatically loads onto your screen when you launch an application is known as the default font. Because various fonts have varying sizes, styles, and colors, the font may affect reading. Users can change the default font in software applications based on their personal and professional requirements.
To make your default typeface more professional and appropriate for work-related papers, you can alter it. For instance, you may use an easy-to-read, professional typeface if you’re writing a recommendation letter for a coworker. If you are writing a letter to a friend, you may choose a less formal typeface, such as one with a handwritten appearance.


Also Read : How To Check If Your iPhone Is Hacked In Settings
How to set a default font in Excel
Excel comes with “Calibri” as the default typeface, which is sized 12. The following procedures will let you change Excel’s default font:
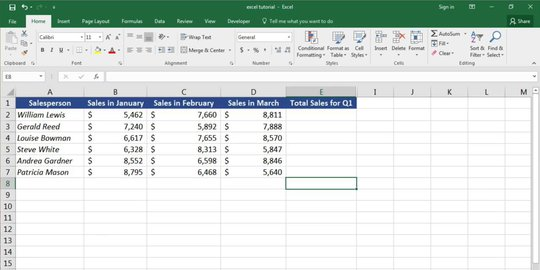
Step 1, Open Excel
Start by launching the Excel program on your desktop. Next, click the “File” button in the upper right corner and pick “New” to choose a new spreadsheet. A blank spreadsheet opens as a result. If a spreadsheet already exists, you can alter the default font, but you might need to manually adjust the text font.
Step 2, Dialog box “Options” should open.
After that, you may select the default font you wish to use by opening the appropriate dialog box. Choose the “Options” button from the menu on the left side of your screen to accomplish this. This brings up the “Options” dialog box, where you may evaluate a variety of font options. Make sure you choose the “General” category option so you can see a list of all fonts when you do this. This option is located in the dialog box’s left sidebar.

Step 3, Choose the font size and style that you want.
Within the dialog box, under the “When creating new workbooks” section, you may select your preferred font using a drop-down menu. Choose the typeface that most closely matches your style. Next, click the “Use this as the default font” button. Additionally, you may adjust the size of your new default font by choosing a number from the “Font size” option. Workplaces frequently have requirements for font sizes ranging from 10 to 14.
Step 4, Verify your configuration.
Check that the data in the dialog box satisfies your needs or those of your place of employment before saving. Click “Ok” in the lower left corner of the box when you’re ready to change the default font. Try typing in your spreadsheet to check the updated font’s size and style after that.
Step 5, Save the changes.
Close the Excel page and save the document in order to save the changes. Click “File” and then “Save as” to do this. Close the window and save the document. Try entering in a fresh spreadsheet to make sure your default font is operating correctly.