


How to Instal Insulation – Adding a thick layer of fluffy fiberglass insulation to your walls is one of the simplest and least expensive methods to increase the energy efficiency of your house. A straightedge, a utility knife, and a little perseverance are all you need to make sure the insulation covers the stud cavity entirely, top to bottom and side to side, without being unduly squeezed.
Use batts that are the same width as the stud bays and the depth of the studs; for example, a standard 2×4 structure would have batts that are 15¼ inches wide, 3½ inches deep, and have an R-value of 15. Buying batts that will fill the widest bays and trimming the remaining material to fit is a simple way to deal with uneven stud spacing in fiberglass.
When you’re ready to start, put on a dust mask, gloves, safety glasses, trousers, long sleeve shirt, and safety glasses to protect your skin, eyes, and lungs. Then, to expedite the process and guarantee that your insulation performs as intended, adhere to these fundamental installation guidelines.

Also Read : How To Delete Klarna Account
How to Instal Insulation
1. Cut to Width
- You must reduce the batt’s width for stud bays that are too narrow. To do that, place a batt on the ground in front of the cavity as shown, aligning one edge with the stud bay’s interior face.
- Next, align a straight 2×4 with the next stud’s inside face and apply pressure with one leg to press against it.
- Cut a series of shallow incisions in the batt using a utility knife run alongside the 2×4.

2. Trim to Length
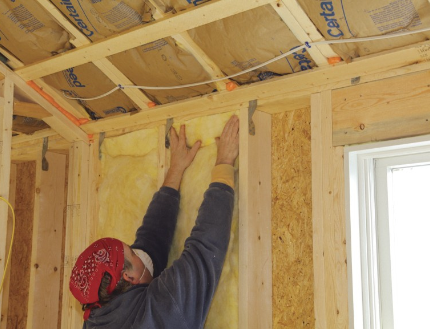
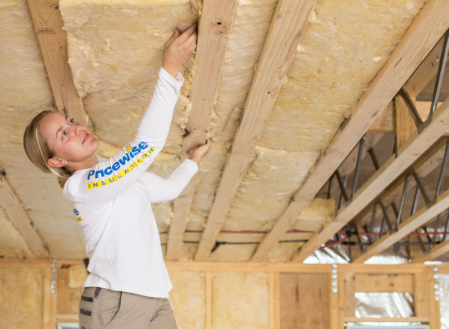
- With the edges of the insulation flat with the studs and snug against the top of the stud bay, tuck it into the cavity. It is best to avoid compressing the batt too firmly against the studs since this can lower its R-value.
- Allow the insulation to extend, then use your utility knife to cut it against the bottom plate of the wall frame for a precise fit against the cavity’s bottom.
3. Managing Difficulties
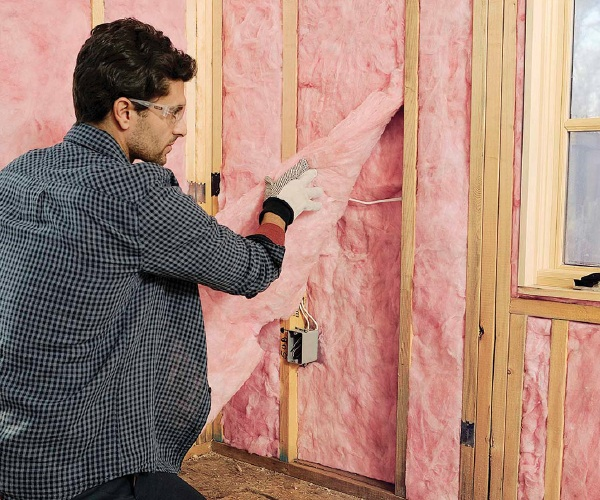
- For wires, tear the batt apart to reduce its thickness by half.
- Next, place one part in front of the wire and the other half behind it.
- When installing a batt for an electrical outlet box. Use the box as a reference to cut a notch in the edge of the box.
- Use the entire thickness of the insulation behind plumbing supply pipes to assist keep them from freezing.
4. Integrate the Vapor Barrier
- A vapor retarder on the inside face of the insulation reduces condensation in cold regions. Which lowers R-value and promotes the growth of mold.
- There is a built-in retarder in batts faced with foil or paper. Cover uncovered batts with a permeable covering such as MemBrain (shown) or 6-mil plastic.
- Every 12 to 24 inches, tack a sheet to the top plate, studs, and bottom plate. Next, apply a bead of sealant to any studs where the sheets overlap.