


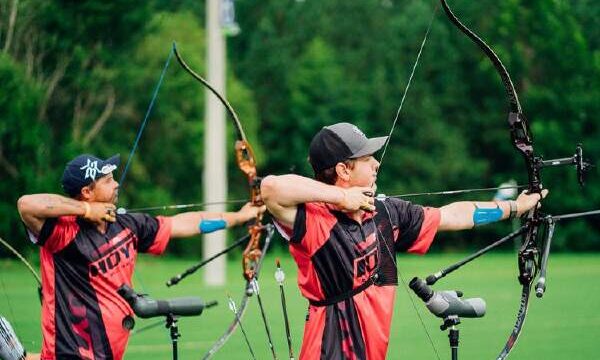
Luxembourgguidelines.org – How To Draw A Bow. A bow or arrow or crossbow is a weapon used to shoot arrows. Then, assisted by the elastic force of the arrow itself. Usually this weapon is used as a tool for hunting and war equipment. Currently, arrows are widely used as the main tool in archery sports. When playing archery there are several basic techniques that must be mastered. Starting from positioning techniques, placing arrows, holding the bow and arrow, and firing shots. Archery is done using a bow and arrow to shoot a target. The archery target or target consists of ten concentric circles, and points (score). So, how do you draw the archer? Come on, see the explanation in the article below.


How To Draw A Bow
The following are several steps that can be taken in drawing using a bow, including:
Step 1
- The first is to draw with an arc frame. This shape is quite complicated to draw because it involves many curved lines that are quite close together. This of course must be done slowly and carefully. Then, make both parts of the bow the same length.
- Once the bow picture frame has been created, you can add some details to it. At the end of the frame, you can draw some details of the arc. Then,the end of the bow is where the string is attached to the frame, and the reference image will show you the shape it should take. After that, you can use two simple lines in the middle of the bow frame to get the groove where the arrow sits.
- Third, add a rope that comes from the drawing point in the previous step and forms a triangle backwards. For this step, you can use a ruler to draw two string lines.
- Fourth, draw arrows as shots. For that, you can draw it in an arc. This method can be done by using a thick line starting from the middle of the bow until it touches the end of the string. Then, use a few straight lines to form small feathers or fletchings on the back of the arrow.

Step 2
- Fifth, you can add some elements to the arrow. First, the arrow needs a point in drawing a triangular shape at its inverted tip. Then, draw some lines on the feathered fletching to give it a more textured look.
- Sixth is the process of coloring the finished bow and adding some final details. Start by making thin lines on the bow frame and arrow tip. This is done to add texture and give a more dynamic appearance.
- Seventh, after the drawing process is complete, you can choose several colors for the image. Start with a brown color scheme to give the bow a nice wooden look. Apart from that, you can also use the colors you like for the image. Bows are available in a variety of colors, and modern shapes.

That is the interesting explanation above that can be conveyed about how to draw a bow. Hopefully after reading the discussion in this article, you can understand it well, use it as an additional reference, increase your knowledge and insight. And in the future, it can be useful and can apply this knowledge in everyday life.