


How to Change the Admin Email in Hostmonster – Keeping control and security in web hosting’s ever-changing world requires that you manage your admin email. A reliable hosting company, HostMonster, provides an easy way to modify your admin email address. We’ll lead you through every step of this in-depth tutorial to make sure the move goes smoothly and without any problems.

Also Read : How to Change Yale Lock Code, Step by Step !
How to Change the Admin Email in Hostmonster?
It’s critical to update your admin email when your online presence changes. Whether because of personal inclinations or organizational changes, upgrading your admin email guarantees efficient account management and communication inside HostMonster.
1. Getting into the Control Panel of HostMonster
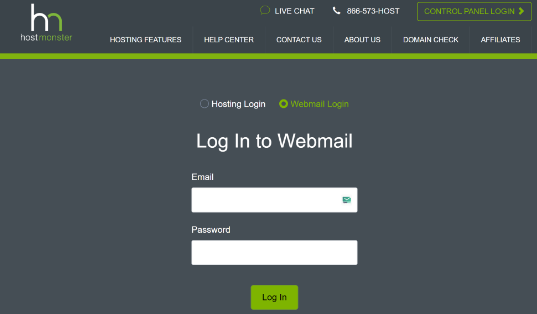
- Sign in
Logging into your HostMonster account is the first step. To go into the control panel, enter your login information, which includes your password and username. - Go to the Profile page.
Find and choose the “Profile” or “Account Settings” option from the control panel. It is here that you will discover the account information settings.


2. Where to Find the Admin Email Settings
- Locate the Email Settings
Locate the area that deals with email settings directly. This is usually located under the profile or account settings. - Find the Admin Email Field.
Locate the “Admin Email” or a comparable field in the email settings. This is the screen that shows your admin email address right now.
3. Modifying the Admin Email
- Put in a fresh email.
Your new admin email address should appear in the designated box. Make sure everything is accurate to prevent any communication issues with your HostMonster account. - Check Modifications
HostMonster could ask you to validate the modifications. Make sure the new email address is correct and stop any illegal changes by verifying it.

4. Changing Contact Details
- Examine Extra Settings
Review and change any additional contact details associated with your HostMonster account while you’re in the account settings. This contains your name, company, and any other pertinent information. - Conserve Modifications
Save the modifications after checking the extra options and entering the new admin email. For this purpose, HostMonster usually offers a “Save” or “Update” option.
5. Verifying Modifications
- Verify Email Confirmation
Both your old and new admin email addresses can receive a confirmation email from HostMonster. Look for these emails in your inbox, then follow the instructions. - Check the Control Panel.
After you’ve returned to the control panel, make sure the modifications have taken effect. Your new email address should now appear in the admin email area.
In HostMonster, changing the admin email is a simple procedure that guarantees the security and accessibility of your account. You may easily alter your admin email by following these simple steps, which will facilitate effective hosting service administration and communication. On the digital frontier, be sure your web presence is keeping up with your changing demands. Cheers to your successful hosting!